Distinctive Brand Identities
Crafted by Dr. Nasrinsadat Khorasaninejad
Where visual research, conceptual depth, and strategic branding converge to create timeless, meaningful, and culturally resonant brand experiences

Dr. Nasrinsadat Khorasaninejad
Visual Artist & Graphic Designer
Holding a Ph.D. in Visual Arts, she works at the intersection of artistic research, conceptual thinking, and strategic design. Her practice focuses on crafting distinctive brand identities that are rooted in meaning, cultural awareness, and visual precision—bridging contemporary art with modern branding to create authentic and enduring visual experiences

Crafting Unique Visual Identities with Purpose
Explore a selection of artworks that reveal the depth and creativity behind each Design


Crafting Unique Visual Identities with Purpose
Each work reflects a process of visual research, conceptual exploration, and strategic thinking—where art and design converge to shape meaningful brand narratives
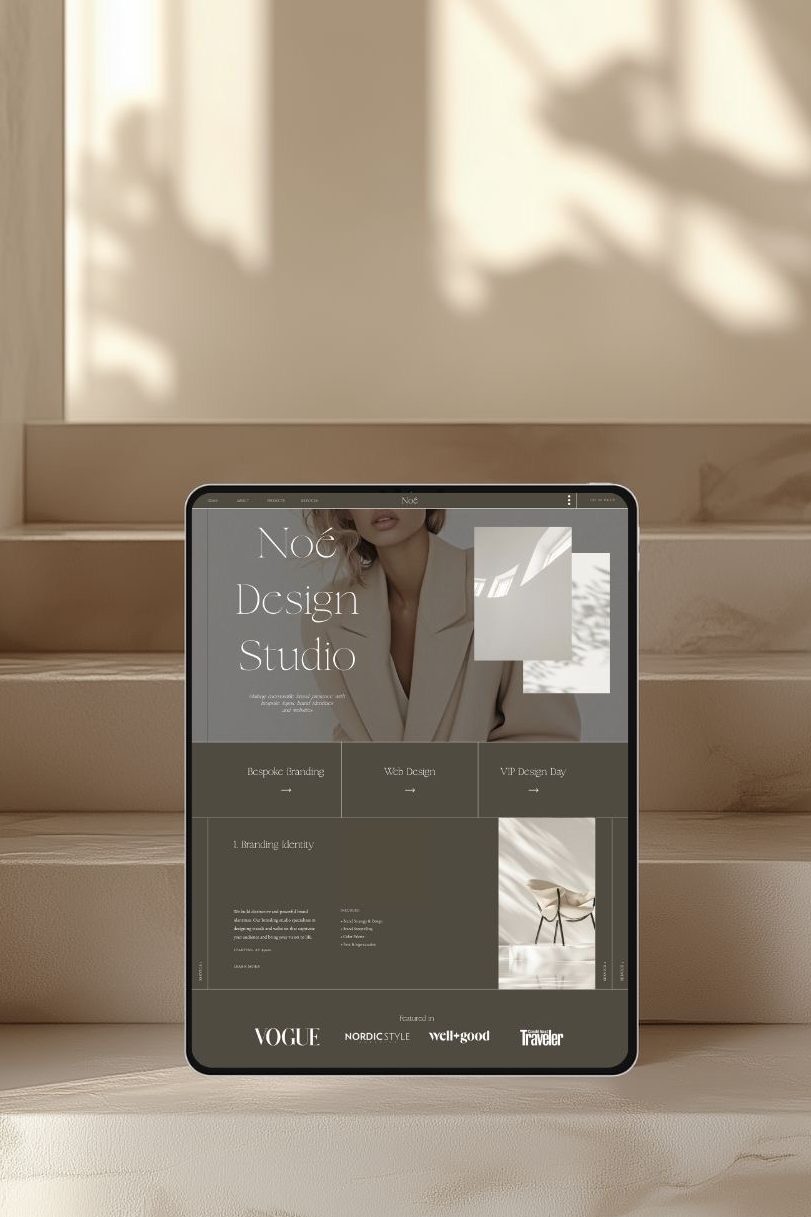
Comprehensive Brand Creation
From logos to visual identities, every element is thoughtfully designed to tell your story

Strategic Visual Storytelling
We blend aesthetics and strategy to craft memorable, meaningful brand experiences

Multimedia Promotional Design
Engaging videos and printed materials that amplify your brand’s voice and react
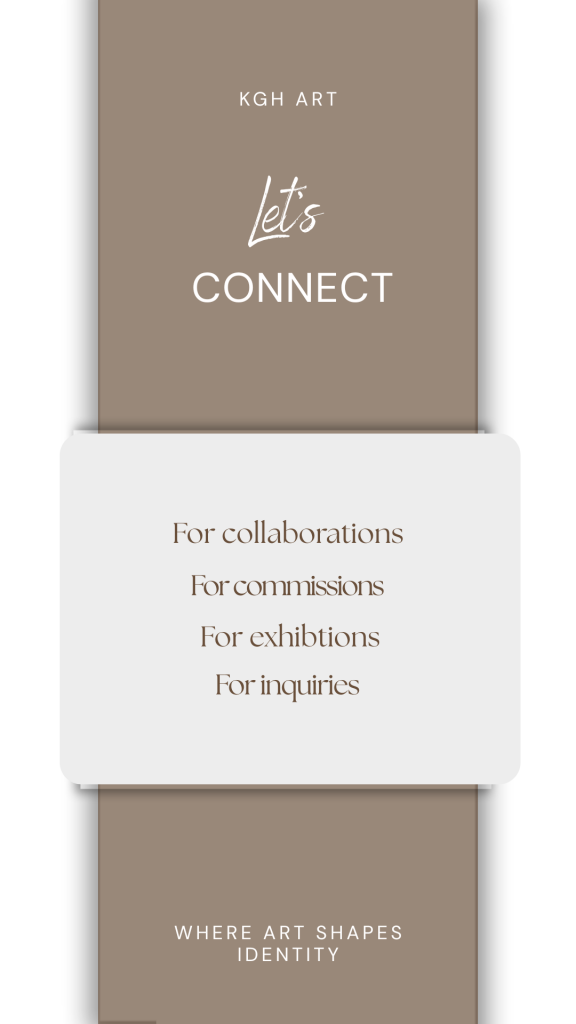
Experience Distinctive Creativity and Impactful Design
Discover how KGH ART crafts compelling brand identities blending artistry and strategy for unmatched visual appeal.

Conceptual Brand Development
Harnessing deep artistic insight to create brands that resonate meaningfully and authentically with audiences.
Comprehensive Visual Identity
Designing cohesive logos, brand books, and promotional materials that elevate your brand’s presence and recognition.
Innovative Multimedia Solutions
Producing engaging promotional videos that combine aesthetics and strategic messaging to captivate viewers.